Showing posts with label Food. Show all posts

Saturday, October 5, 2013

Cinnamon Apple Cake

via
If you have a Pinterest account and are remotely interested in food, you've probably seen this pin. It has gone totally viral the past few weeks. So I thought, it's apple season, this pin is popular, I might as well try it out, right? Right. It was pretty delicious. Unfortunately, I left mine in the pan a little too long and it broke apart instead of being beautiful like the original photo above (from the original website). But it still tasted delicious! Also: I think it's pretty safe to say I use a lot of cinnamon.. Today my mom bought Cinnamon at Sam's Club, which means it's a ginormous container. When I asked why she bought so much she informed me that I've used an entire little container of cinnamon ever month for the past four months. Some things you just have to buy in bulk!
 If you don't have one of these, you should invest at once. They're amazing. Especially at Thanksgiving when you're making apple pie and apple crisp and apple cider etc, etc, etc. It literally takes 10 seconds to peel and core your apples this way. 

 You'll need 5 medium size apples for this recipe, peeled, cored, and diced. Cover them with the cinnamon and sugar and set overnight. I didn't read the recipe before starting, so I didn't really want to wait overnight to make the cake. If that's the case with you as well, you can do it the cheater way like me.. I just spread them in the bottom of a 9x13 pan and baked them at the lowest setting of my oven for about 10-15 minutes. The purpose of them sitting out was to allow the sugar to break down the apples a little to make them extra juicy, and so baking them accomplishes a similar effect in less than half an hour.
Cinnamon Apple Cake (found here)

Combine and set overnight:
5 Medium Apples, peeled, cored, and diced
2 t Cinnamon
6 T Sugar

3 C Flour
3 t Baking Powder
1/4 t Salt
2 C Sugar
1 C Vegetable Oil
1/2 C Orange Juice
2 1/2 t Vanilla
4 Eggs

Topping:
1 Stick Butter
2 t Cinnamon
5 t Sugar

Preheat your oven to 350 degrees. Mix the dry ingredients, minus the sugar, together. Mix the wet ingredients, plus the sugar, together. (keeping the apples separate). Combine the two until well mixed. Layer the apples and cake batter in a greased tube pan. Bake at 350 for 1 1/2 hours. While it is baking heat the topping over medium heat in a small saucepan until bubbling. Set aside. When the cake has finished baking pour the topping over it and leave it in the warm oven for 5 minutes. This will form a hard sugary coating that is totally delicious. Enjoy!

post signature

Wednesday, October 2, 2013

Cooking Pumpkin

 I feel like such an accomplished cook! I have officially cooked a whole pumpkin and pureed it into homemade "canned" pumpkin puree! And let me tell you, it's so much tastier than store bought. And it's actually way easier than it sounds! And it's cheaper! We got this pumpkin for $4, and I got over 8 cups of pumpkin puree. One 16 oz can at the store is usually about $1.50. Which would be $0.75 per cup. Cooking your own is $0.50 per cup. And when you love pumpkin as much as I do, you tend to use a lot, and therefore spend a lot... 
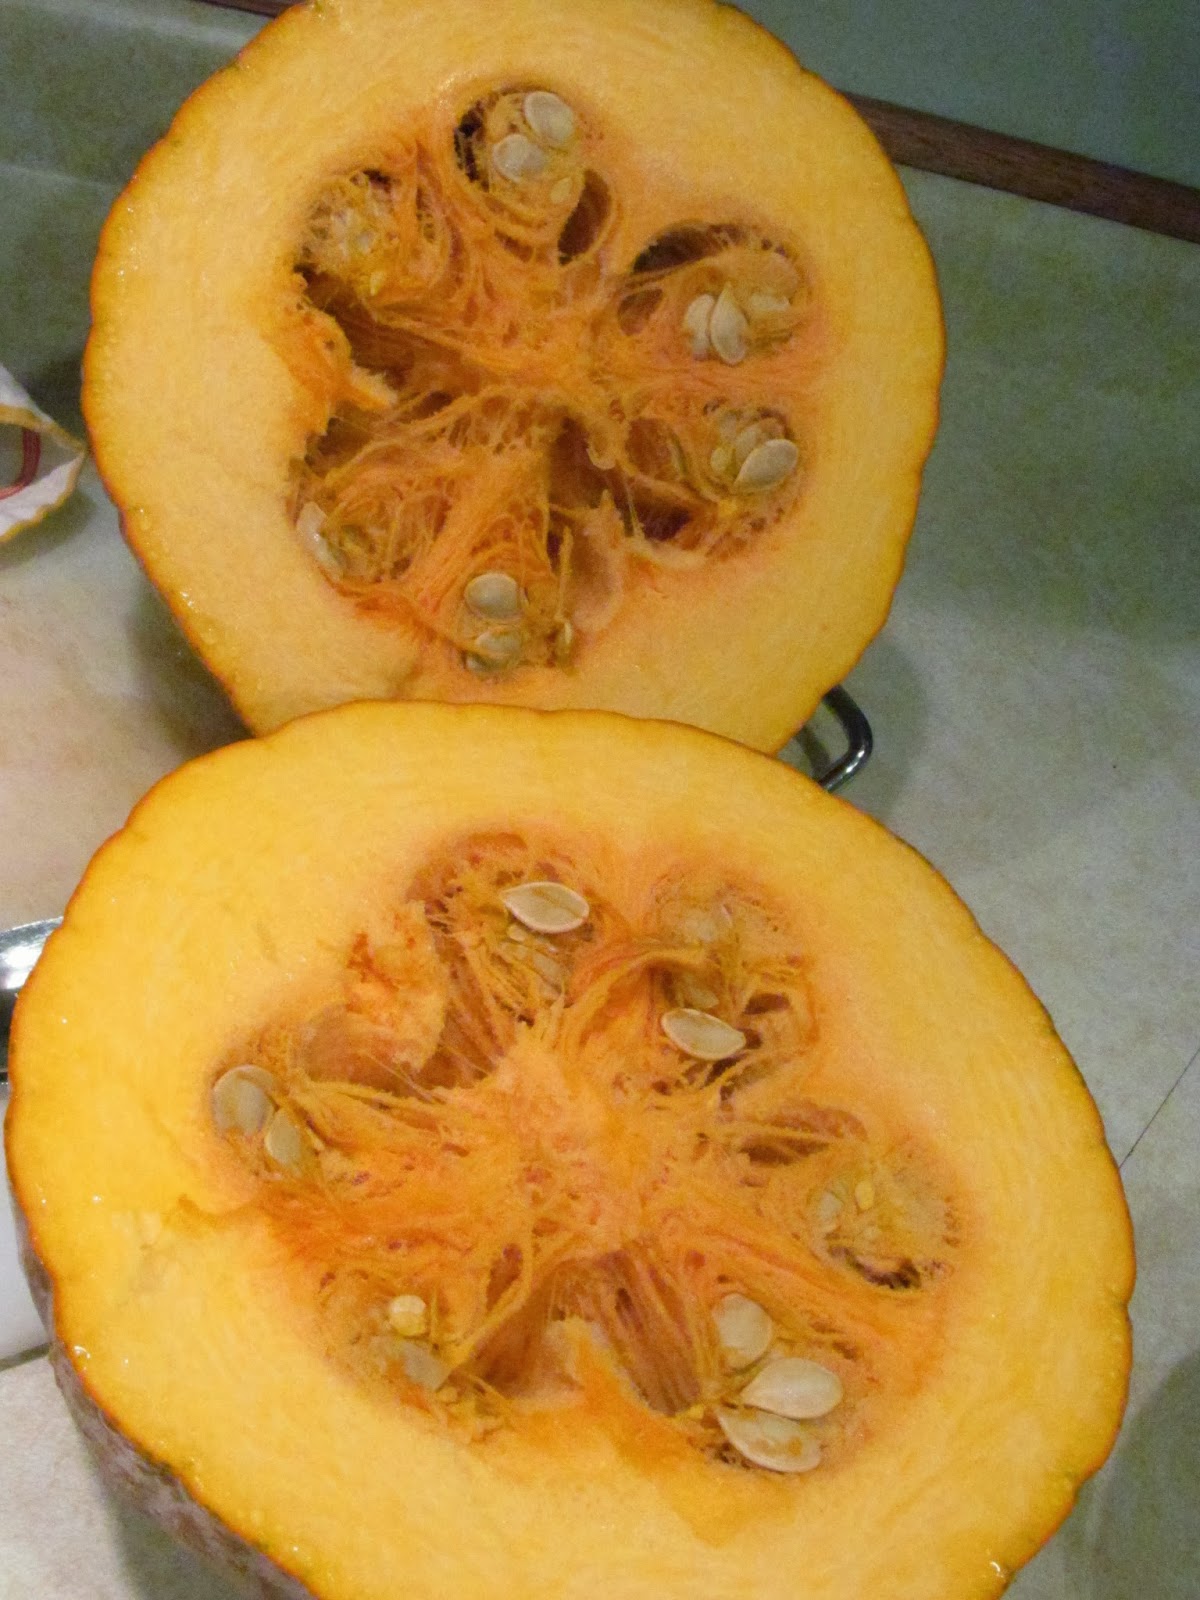
 Anyway, back to cooking :) It's pretty simple. Wash your pumpkin and cut it in half. Scoop the seeds out (make sure to save them for roasting! A recipe for roasted pumpkin seeds is coming soon!). My friends from Columbia will be happy to know that I conquered my fear of pumpkin guts and scooped all the seeds out by myself!


 Put your pumpkin halves face down on a greased cookie sheet and bake at 350 degrees for at least an hour. Test it with a knife and when it is soft you can take it out. Let it cool and scoop the flesh out of the shell.


 It'll be pretty thick and stringy, so I put mine through the blender to make it more pureed. 
 Worked like a charm! It's so delicious! Stay tuned for pumpkin recipes!

post signature

Sunday, September 29, 2013

It's Just Lunch

Hi guys! I'm still alive! I haven't posted anything in forever because I've been so busy with school and work, but I'm getting back on it today! If you hadn't noticed, I've missed the "It's Just Lunch" post three weeks in a row (yesterday being the third week), so I'm making up for it by posting one late, and giving you a lot of dessert recipes this coming week :)
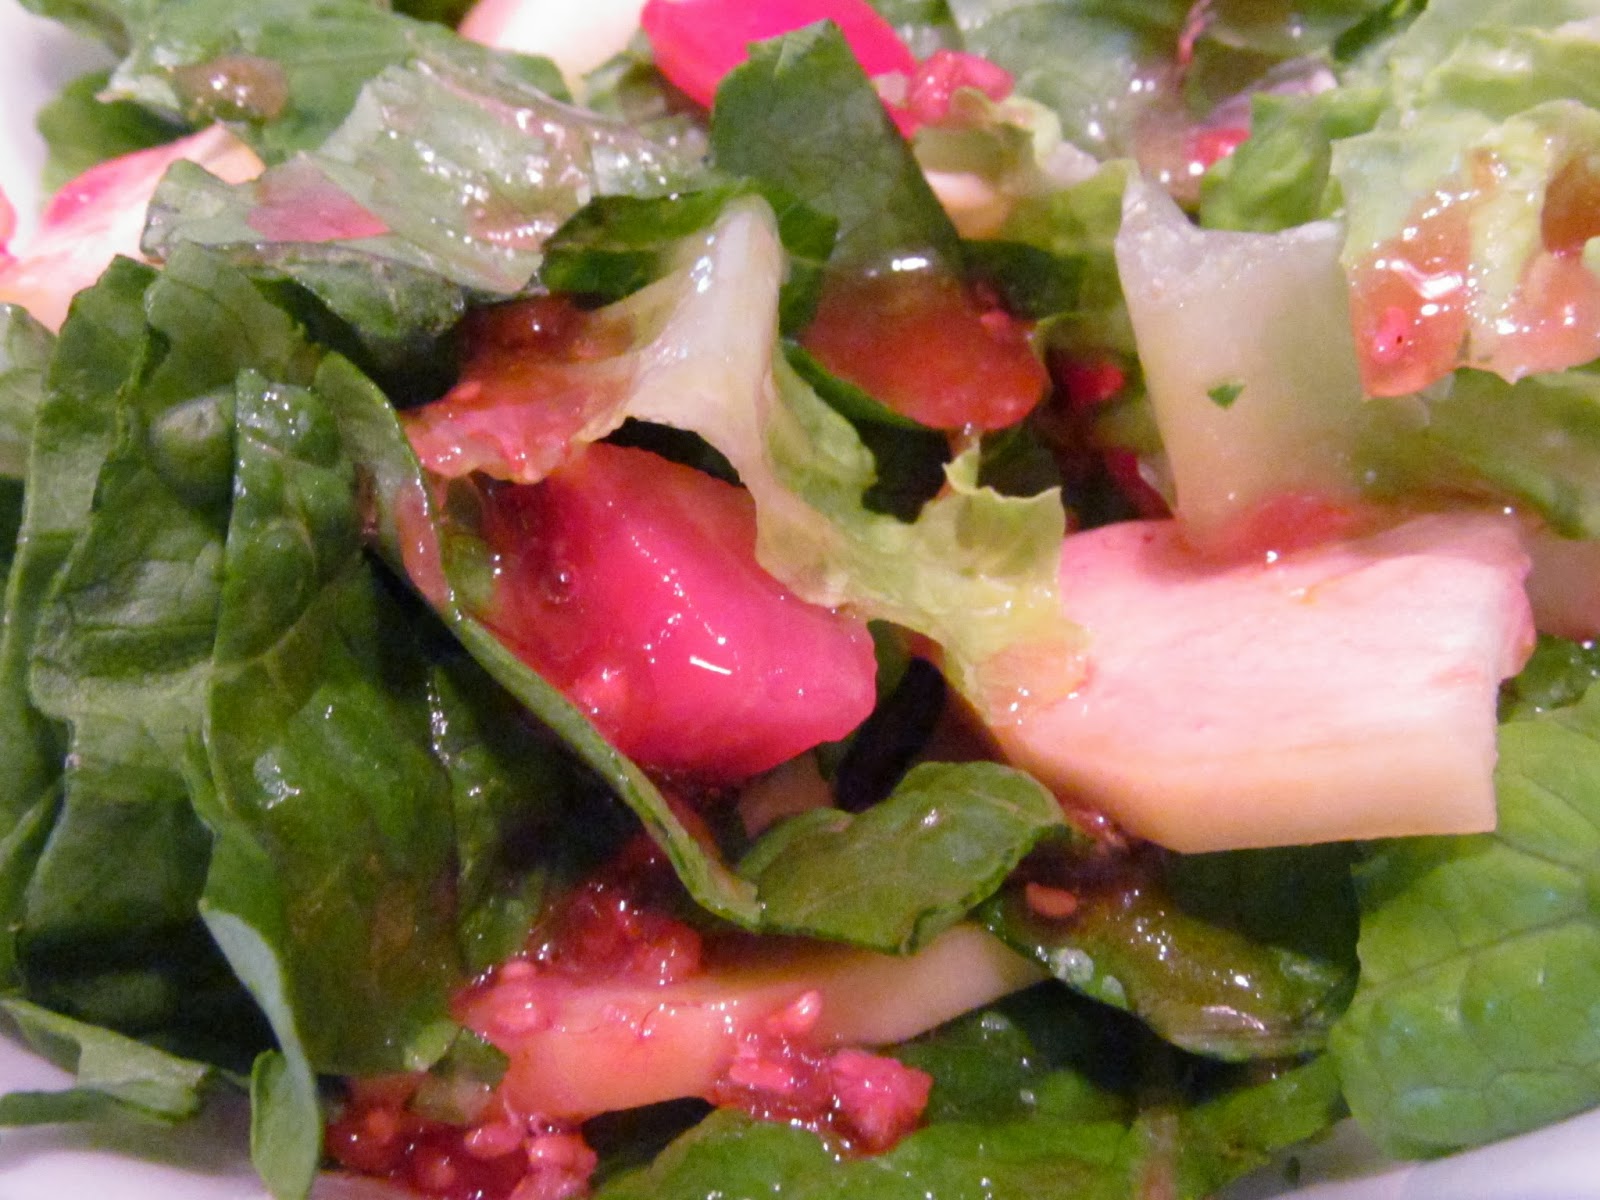
So I started making my own dressing about a year ago and I will never go back! Homemade dressing is so much tastier than store bought. I actually have an entire Pinterest board for dressings.. I'm kind of addicted. Anyway, I made this Raspberry Vinaigrette a while ago when it was still raspberry season. It was gone quite quickly!


 I also have this really awesome dressing container that has recipes on the side of it as well! I got one as a going away gift from a dear friend at church and loved it so much I grabbed another one when I saw it at a yard sale!
Raspberry Vinaigrette (found here)
2 C Raspberry Jam (we made our own fresh but I suppose you can use store bought as well)
1/2 C Rice Wine Vinegar
1/4 C Olive Oil

Mix well and enjoy!
post signature

Saturday, September 7, 2013

It's Just Lunch

 So I definitely thought that this week's "It's Just Lunch" was going to be a dud. But luckily for me, it wasn't! They were absolutely delicious! Way better than bagels you would get from the store, and way less expensive! I was originally going to make these bagels for breakfast this morning and post them separately from "It's Just Lunch," but then I realized I still didn't have a post for this week so I'd better post these! And it worked out because they weren't done until noon anyway! If you do decide to make them, I would suggest starting the dough the night before, because it has to rise a while. 
 The one on the left was sprinkled with poppyseeds.
 This one was flavored with basil and oregano.
 The one in the middle is flavored with minced onion and garlic.

Whole Wheat Bagels (found here)
2 t Active Dry Yeast
2 t Sugar
1 1/2 C Warm Water
3 1/2 C Flour (I used 1 1/2 C white flour and 2 C wheat flour)
1 1/2 t Salt
Toppings: coarse salt, onion and garlic, poppyseeds, cinnamon sugar, rosemary and thyme, oregano and garlic, basically whatever you want! Experiment with your favorite spices or keep it simple with plain bagels

Sprinkle the yeast and sugar over 1/2 C warm water, but do not stir. Let sit for 5 minutes until frothy. While that is sitting mix the flour and salt in a stand mixer with the bread hook attachment. You can also do it in a large bowl with a spatula if you don't have a bread hook (but if you make a lot of bread they're definitely worth the investment). Make a well in the middle of the flour and pour in the yeast mixture and another 1/2 C warm water. Mix together until moist and dense. Add the other 1/2 C warm water 1 T at a time, just until all the flour is incorporated and the dough is slightly moist. Knead by hand for 10 minutes. Put the dough in a lightly oiled bowl and place a damp tea towel over it. Let it raise for 1 hour or until doubled in size. The best place for bread to rise is somewhere warm, so I just put mine in the oven at the lowest heat (mine only goes down to 170 degrees) with a small bowl of water under it. After the dough has doubled in size punch it down and let it rise an additional 15 minutes. Preheat your oven to 430 degrees and put a large pot of water on the stove to boil. Take out the dough and separate it into 8 equal parts. Mold your dough into discs by pressing them down on the counter. Poke a hole through the middle and stretch the hole out until it's about 1/3 the size of the bagel. (this isn't as hard as it sounds, just make it into a bagel shape) When your water is boiling float as many bagels will fit in the pot. Boil them for 1-2 minutes on each side (the longer you boil them the chewier they will be). After they have boiled you can add any toppings you like. If you want to add bigger spices or minced onion I would suggest adding it to an egg wash so it doesn't fall off when you bake it. Bake at 430 for 20 minutes. Enjoy!

post signature

Saturday, August 10, 2013

It's Just Lunch


 My sister just got back from school to visit, and her absolute favorite thing to eat is pancakes. Usually we just make the bisquick kind, but since it was Sunday, I thought I'd do something a little special. So I browsed my "breakfast" board on Pinterest and came up with these Mexican Pancakes :) Cooler weather calls for cinnamon apples, right? And Sunday means breakfast for lunch, right? 

Mexican Pancakes (found here)
3 C Flour
4 T Sugar
1 T Cinnamon
3 t Baking Powder
3/4 t Salt
3 C Buttermilk
1/2 C Whole Milk
3 Eggs
1/3 C Butter, melted

3-4 Apples
2 T Butter
A hearty sprinkle of Cinnamon

Whisk together flour, sugar, cinnamon, baking powder, and salt. Mix together buttermilk, whole milk, eggs, and melted butter. Combine the wet and dry ingredients and stir until just combined. The mixture will be quite runny. Meanwhile, peel and slice your apples and place them in a skillet. Add the butter and cinnamon and simmer. Heat your pancake griddle completely before pouring the batter onto the pan. Brown on both sides, top with softened cinnamon apples, and enjoy!
post signature

Thursday, July 25, 2013

Lemon Poppyseed Muffins

 Breakfast is my absolute favorite meal of the day, and lemon poppyseed muffins are my favorite breakfast food. The best lemon poppy-seed muffin I've ever had was actually from Dunkin' Donuts. It tasted like sunshine. It was delicious. Ever since I had it I have been trying to find a recipe that imitates theirs, but I hadn't succeeded until I found this recipe. It was only slightly different, but I think with the addition of sugar crystals and icing on the top they would be the same. I will definitely be using this recipe again! Thank you, Pinterest!

Lemon Poppyseed Muffins (recipe found here)
2 C Flour
2/3 C Sugar
1/4 t Salt
2 t Baking Powder
1/4 t Baking Soda
2 T Poppyseeds
2 Eggs
3/4 C Yogurt
Zest of 2 Lemons
1/4 C Lemon Juice (about 1 Lemon)
1 1/2 t Vanilla Extract
1/2 C Butter, melted

Preheat your oven to 400 degrees. In a large bowl whisk together flour, sugar, salt, baking powder, baking soda, and poppyseeds. In another bowl mix together the eggs, yogurt, lemon juice, vanilla extract, and butter. (ok, so I usually don't follow the whole mix the dry and wet ingredients in separate bowls directions because it really doesn't matter, but it's important in this recipe, so make sure your wet and dry ingredients are mixed separately!) Mix the wet and dry ingredients together until just mixed. Fill your muffin cups about 2/3rds full of batter, sprinkle with crystallized sugar (if desired), and bake for 18-20 minutes. Cool for 5 minutes before removing them from the pan. They're SUPER delicious straight from the oven! Enjoy!
post signature

Saturday, July 20, 2013

It's Just Lunch


 And now, the moment you've all be waiting for... (at least I hope someone besides me was looking forward to this!) Week One of "It's Just Lunch." The basic idea is that once a week I'll do something special for lunch. Something besides the normal PB&J or microwaved leftovers. The name comes from the idea that it's literally one lunch a week. If I mess it up or it doesn't taste good it doesn't really matter. It's just lunch!

So for week one I made microwave mac and cheese and "fried" pickles. Both recipes are from Pinterest and both were delicious! I'll give you the recipe for the mac and cheese first. 
I used this recipe. I had seen on Pinstrosity that several of the "mac and cheese in a mug" pins were duds, so I used the one they recommended. 
Microwave Mac & Cheese
1/3 C Whole Grain 
1/3 + 1/4 C Water
1/3 C Cheese
2 t Milk

The whole grain pasta will cook differently than if you use white pasta. If you use white pasta it will probably just take a little less time to cook. Microwave the pasta and water in a very large mug (I had to transfer mine to a bowl because it boiled over) for 6 minutes, stirring at 4, 2, and 1 minute. Depending on how powerful your microwave is it may need to cook for a little more or less. Just keep an eye on it and you'll be fine. Add a heaping 1/3 C of cheese to the cooked pasta (leaving the thick water in the cup) and microwave for another 45 seconds to melt. Add a splash of milk, about 2 t, or however much you like, and stir. Enjoy!

 And now on to "fried" (baked) pickles. This is a messy recipe. It takes way longer if you don't just embrace the messiness. I used this recipe, slightly modified, and they came out delicious.

"Fried" Baked Pickles
3 Large Pickles
3 Eggs
3 T Milk
1 C Flour
1/2 C Bread Crumbs

Preheat your oven to 425 degrees. Mix the eggs and milk together and put the flour and breadcrumbs each in a seperate bowl. Slice your pickles into chips or spears. Dip the pickles in the flour, then the milk/egg mixture, then the breadcrumbs. Place on a lined baking sheet and bake for 7-10 minutes. Dip in ranch and enjoy!
post signature

Monday, June 17, 2013

Happy Father's Day!

I made this pie on Saturday for father's day on Sunday. My dad's favorite dessert is pecan pie. We have some friends visiting and his favorite dessert is cheesecake. I just happened to have a recipe (thank you, Pinterest!) for both in one pie. Let me just say: this is delicious.

Vanilla Pecan Pie (recipe found here)
Pie Crust
1 8oz Package of Cream Cheese
3 Eggs, Divided
3/4 C Sugar
4 t Vanilla, Divided
1/2 C Corn Syrup
3 T Butter, Melted
1/4 t Salt
2 C Pecan Pieces

Pie Crust for one 9" pie plate:
1 C Flour
1/3 C Shortening
1/2 t Salt
1/8 C Cold Water

I have no idea where this pie crust recipe came from, all I know is we've been using it in my family since before I was baking things. Mix all the ingredients together, roll into a ball and roll out. Transfer to a 9" pie plate.

Preheat oven to 350 degrees. Beat cream cheese, one egg, 1/4 C sugar, and 2 t vanilla until fully mixed. Spread evenly over pie crust and bake for 15 minutes. While that's baking beat remaining two eggs and 1/2 C sugar in a large bowl with a whisk until smooth. Add corn syrup, butter, salt, and remaining vanilla and whisk until well blended. Sprinkle the pecans over the cream cheese bottom and slowly pour the corn syrup mixture over them. Bake 35-40 minutes or until just set in the center. Cool completely. Enjoy!

post signature

Wednesday, June 12, 2013

Butterfly Chocolate Cupcakes


The other day I was in charge of making dessert for a dinner we were having at a friend's house. Of course I wanted to make something complicated. Here enters Pinterest :) I had been wanting to make these chocolate butterflies for a while now and this was the perfect opportunity. Unfortunately, the instructions specifically said "use almond bark. Do NOT use chocolate chips, they will not hold the shape." Well the store didn't have almond bark and really how bad could chocolate chips be? Lesson learned: when it says don't use chocolate chips, don't use chocolate chips. They turned out fine, but not great. They still tasted fantastic though! Recipe at the bottom, as always.


Chocolate Cupcakes
1 2/3 C Flour
1 1/2 C Sugar
1/2 C Cocoa
1 1/2 t Baking Soda
1 t Salt
1/2 t Baking Powder
2 Eggs
1/2 C Shortening (I used butter)
1 1/2 C Buttermilk (or sour milk)
1 t Vanilla Extract

Preheat your oven to 350 degrees. Mix together the dry ingredients. Add the eggs, shortening, buttermilk, and vanilla and mix for 3 minutes. Fill the muffin cups 1/2 full. I actually filled mine a little more than that, about 2/3rds full, because I wanted a little poof top to the cupcakes. Bake 18-20 minutes or until the cupcake bounces back when you touch it. 

Mocha Frosting 
Warning: This is the best frosting I have ever had in my entire life. You will be addicted.
1 Stick Butter
1/2 C Cocoa
1/3 C Milk
1 t Vanilla
1 T Instant Coffee
2 2/3 C Powdered Sugar

Butterfly Toppers:
Melt your almond bark in a double boiler. You can put the melted chocolate in a cake decorating bag or a ziplock bag, just make sure the tip you are piping out of is big enough to create a thick piping line. Pipe the chocolate flat onto wax paper using a pattern. If you trace the pattern onto the paper instead of just placing it behind the paper make sure to flip the wax paper over. You don't want to eat sharpie! ;) After you pipe the butterfly put the wax paper on an open book and chill it in the fridge until firm. Enjoy!

post signature
Related Posts Plugin for WordPress, Blogger...