Monday, September 30, 2013

Apple Cinnamon Cupcakes with Caramel Icing

These cupcakes are incredible. There's no other way to describe them. SO GOOD. The best apple flavored food you'll ever eat. I'm not even exaggerating. For reals. I made them the other day for a church dinner and they were a huge hit! I found them on Pinterest, but the recipe was on the picture and didn't connect to a blog so I'll just copy the recipe here.


Apple Cinnamon Cupcakes with Caramel Icing
1 C Flour
1 t Baking Soda
1/2 t Salt
1 t Cinnamon
1/2 t Nutmeg
Pinch of Cloves
1 C Sugar
1 Egg
1/4 C Oil
2 C Peeled and Sliced Apples

Icing
1/2 Stick Butter
1/2 C Brown Sugar
1/4 C Heavy Cream
1 t Vanilla

Makes 12 cupcakes. Preheat oven to 350. Mix together all the dry ingredients. In a separate bowl cream together sugar, egg, and oil. Mix the wet and dry ingredients until just combined. Add the apples and mix thoroughly. The batter will be really thick, so you'll want to mix the apples so they let off some of their juice. Scoop into baking cups and bake at 350 for 30 minutes. While the cupcakes are baking prepare the icing. In a small saucepan melt the butter and heavy cream on medium heat. Add the brown sugar and bowl for 5 minutes. Remove from heat and add vanilla. Let cool. Drizzle over cooled cupcakes and enjoy! 

P.S. This is my 150th post! Crazy, right??

post signature

October Dress Project 2013: Altering The Dress

Has October sneaked up on anyone else? I feel like yesterday it was August and the first day of school! However, tomorrow is the first day of October and thus the first day of The October Dress Project! (more information on the project here) This will be my third year doing the project, and I'm really excited to do a maxi dress this year! The first year I did a red dress (I hadn't made the blog yet so I don't have any posts including that dress), which was pretty challenging, but not too bad. Last year I did a short black dress (see all of last year's posts here), and that was pretty easy. So I thought I'd do something more difficult this year. Enter the maxi dress :). 
 I would have shown you how it looked on, before alterations, but you probably don't want to see that.. It was QUITE the v-neck. I got it at Salvation Army for a few bucks, thinking that if I could add some fabric to the top it would be great and if not, I didn't waste too much money. Well once I got started, I decided the velvet needed to be taken off too, so it turned into kind of a long project, but I really like the way it turned out!
 Top, before.
 I had a black tank top that I thought I'd just add to the existing top. After seeing how that looked, however, I decided I needed to cut the top out first, and then sew the lace to the tank top, then sew the tank top to the skirt again. 
 Sorry for the blurry pictures, but at this point it was like midnight so it was pretty dark in my house.. After the lace was tacked to the shirt I just sewed it back onto the skirt (which I had taken the velvet off of. If I ever seam rip another seam it will be too soon!). You'll have to wait until tomorrow for the finished result as I haven't taken any pictures of the full dress yet! See you tomorrow!

post signature

Sunday, September 29, 2013

It's Just Lunch

Hi guys! I'm still alive! I haven't posted anything in forever because I've been so busy with school and work, but I'm getting back on it today! If you hadn't noticed, I've missed the "It's Just Lunch" post three weeks in a row (yesterday being the third week), so I'm making up for it by posting one late, and giving you a lot of dessert recipes this coming week :)
So I started making my own dressing about a year ago and I will never go back! Homemade dressing is so much tastier than store bought. I actually have an entire Pinterest board for dressings.. I'm kind of addicted. Anyway, I made this Raspberry Vinaigrette a while ago when it was still raspberry season. It was gone quite quickly!


 I also have this really awesome dressing container that has recipes on the side of it as well! I got one as a going away gift from a dear friend at church and loved it so much I grabbed another one when I saw it at a yard sale!
Raspberry Vinaigrette (found here)
2 C Raspberry Jam (we made our own fresh but I suppose you can use store bought as well)
1/2 C Rice Wine Vinegar
1/4 C Olive Oil

Mix well and enjoy!
post signature

Wednesday, September 11, 2013

DIY Thrift Store Shoe Fix

Those shoes look pretty darn good, don't they? That's what I think too. But look what they used to look like:
Hmm, not so great, huh? 
 I didn't really mind the little scratches, most of my shoes have them because I buy mainly from thrift stores. But I was about to do my nails and I thought "hey, my shoes are that color red, I wonder if I could paint the scratches so it wouldn't show." And guess what....it worked! And I thought of it all by myself without the aid of Pinterest!! 

 You can still see the spot where the material was pushed up, but it's not nearly as noticeable as it used to be! I'm pretty proud of myself, I'm not gonna lie. 

post signature

Monday, September 9, 2013

I am "That Girl"

 You know the one. The one who clicks into class. Who wears heels more than she wears flats. I just can't wear flats four whole days a week! I just can't! So Friday I wore heels to school. And I survived! I thought I would be in so much pain at the end of the day, with carrying an extra 30 or so pounds on my back and all, but my feet didn't hurt that bad!
 I just got these shoes and shirt at the thrift store the other day with my mom. I think they were each about $3.
 I'm pretty much in love with these shoes. Even though they are technically one size too small they don't pinch my feet. They had a little tear in the material on the back of the right heel, but I did a little DIY fix that you can look forward to in the next week or so (:
 The shirt was actually a size 14, which is probably two sizes bigger than I normally would have gotten, but I just added a belt and it works!
post signature

Saturday, September 7, 2013

It's Just Lunch

 So I definitely thought that this week's "It's Just Lunch" was going to be a dud. But luckily for me, it wasn't! They were absolutely delicious! Way better than bagels you would get from the store, and way less expensive! I was originally going to make these bagels for breakfast this morning and post them separately from "It's Just Lunch," but then I realized I still didn't have a post for this week so I'd better post these! And it worked out because they weren't done until noon anyway! If you do decide to make them, I would suggest starting the dough the night before, because it has to rise a while. 
 The one on the left was sprinkled with poppyseeds.
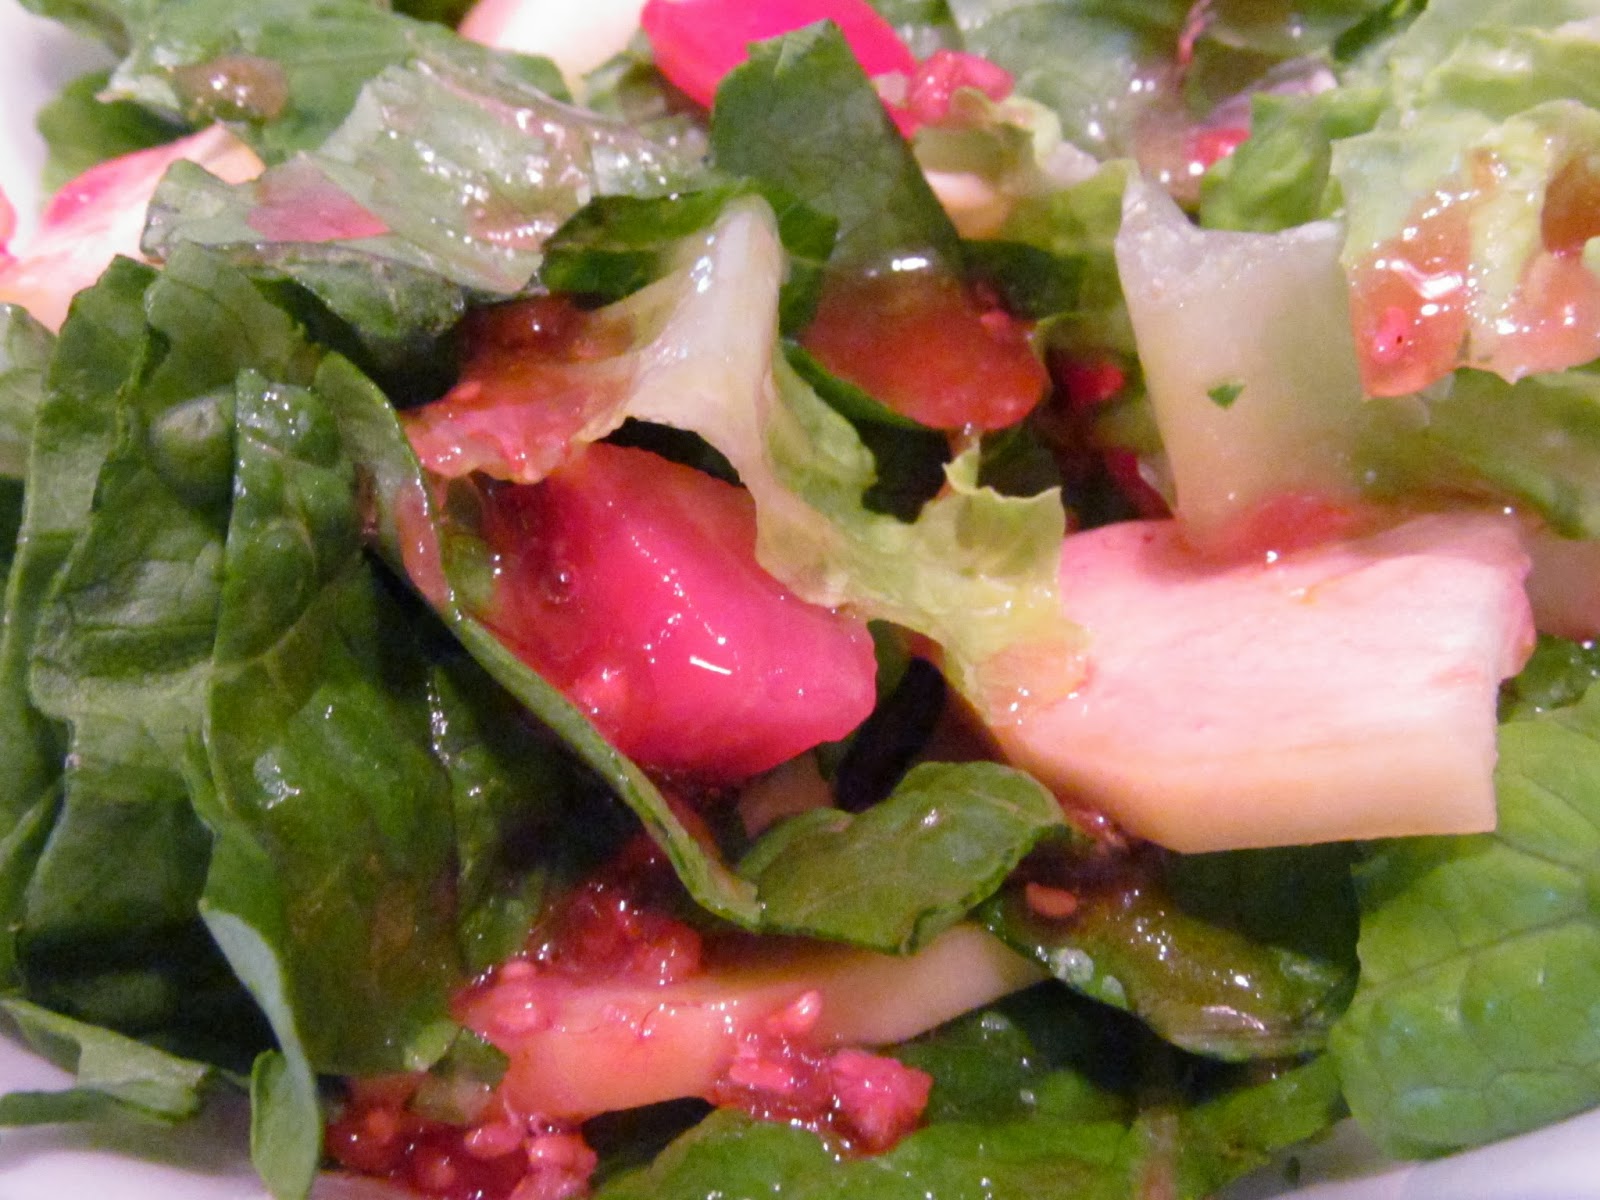
 This one was flavored with basil and oregano.
 The one in the middle is flavored with minced onion and garlic.

Whole Wheat Bagels (found here)
2 t Active Dry Yeast
2 t Sugar
1 1/2 C Warm Water
3 1/2 C Flour (I used 1 1/2 C white flour and 2 C wheat flour)
1 1/2 t Salt
Toppings: coarse salt, onion and garlic, poppyseeds, cinnamon sugar, rosemary and thyme, oregano and garlic, basically whatever you want! Experiment with your favorite spices or keep it simple with plain bagels

Sprinkle the yeast and sugar over 1/2 C warm water, but do not stir. Let sit for 5 minutes until frothy. While that is sitting mix the flour and salt in a stand mixer with the bread hook attachment. You can also do it in a large bowl with a spatula if you don't have a bread hook (but if you make a lot of bread they're definitely worth the investment). Make a well in the middle of the flour and pour in the yeast mixture and another 1/2 C warm water. Mix together until moist and dense. Add the other 1/2 C warm water 1 T at a time, just until all the flour is incorporated and the dough is slightly moist. Knead by hand for 10 minutes. Put the dough in a lightly oiled bowl and place a damp tea towel over it. Let it raise for 1 hour or until doubled in size. The best place for bread to rise is somewhere warm, so I just put mine in the oven at the lowest heat (mine only goes down to 170 degrees) with a small bowl of water under it. After the dough has doubled in size punch it down and let it rise an additional 15 minutes. Preheat your oven to 430 degrees and put a large pot of water on the stove to boil. Take out the dough and separate it into 8 equal parts. Mold your dough into discs by pressing them down on the counter. Poke a hole through the middle and stretch the hole out until it's about 1/3 the size of the bagel. (this isn't as hard as it sounds, just make it into a bagel shape) When your water is boiling float as many bagels will fit in the pot. Boil them for 1-2 minutes on each side (the longer you boil them the chewier they will be). After they have boiled you can add any toppings you like. If you want to add bigger spices or minced onion I would suggest adding it to an egg wash so it doesn't fall off when you bake it. Bake at 430 for 20 minutes. Enjoy!

post signature

Friday, September 6, 2013

I'm a Little Flower

 Guess what guys...I went shopping on Wednesday! Which means NEW (to me) CLOTHES! Which is pretty much my favorite thing ever, besides spending time with my family and friends, which can be done while shopping, so that's pretty awesome. So I got this dress at one of the thrift stores my mom and I went to for like $6. It reminds me of a flower and will from now on be known as my petal dress. It's getting way cold here (it was in the 30's last night) and the dress is strapless so I had to wear a little sweater (purchased at a garage sale for $0.50) and tights to keep warm. I wanted to pair it with these super cute new heels that I purchased, but I thought that would be too dressy for Bible Study and school, so I went with my silver sparkly TOMS. I'm also wearing my spoon ring (tutorial found here), charm bracelet, treble clef earrings, and black and gray headband. Thoughts?


post signature
Related Posts Plugin for WordPress, Blogger...