Saturday, August 31, 2013

It's Just Lunch

This weeks It's Just Lunch is SUPER easy! I've been wanting to try making cornbread in the waffle maker for a while now, but we've never had chili for me to put on it until now. We made chili for our church's dinner and had a little left over for me to use. 
 It was really easy to make, because we had a cornbread mix that I used for the cornbread. If you are looking for a recipe, this recipe looks delicious! I just mixed up the mix, stuck it in the waffle iron, and waited for the light to go off. Then I microwaved the leftover chili, topped with cheese and had lunch! Delicious and easy :)

post signature

Wednesday, August 28, 2013

Record Bowl

This is literally the easiest thing you will ever do. It takes less than five minutes. Seriously the thing that took the longest was fining a record I was willing to melt. I had to go buy on because I like all mine too much! 
 So preheat your oven to 350 degrees. Place your record over an oven proof bowl and place it in the oven. It melts REALLY fast so keep an eye on it! As soon as it starts to soften take it out and push it into the bowl, bending the edges in the design you want. It will be hot, so make sure to use tongs or something to do the pushing!

 Let it cool and use it for your favorite snack! Unless that's dip.. that probably wouldn't be the best idea ;)


post signature

Tuesday, August 27, 2013

Breaking Bottles

So I'm sure most of you have seen the pin about cutting bottles with string and fire. I've been wanting to try this one for a while, and I decided this past Sunday was the perfect day. I had been saving these bottles for about a month for such a time as this.
 I washed the labels off with warm water and got everything set up. I bring it all outside when I hit my first pitfall. My mother was sitting outside and she kind of freaked out about the fact that I was lighting bottles on fire on her front porch... After it was OK'd by dad (with the condition that I wear safety goggles) I was back on my way. 
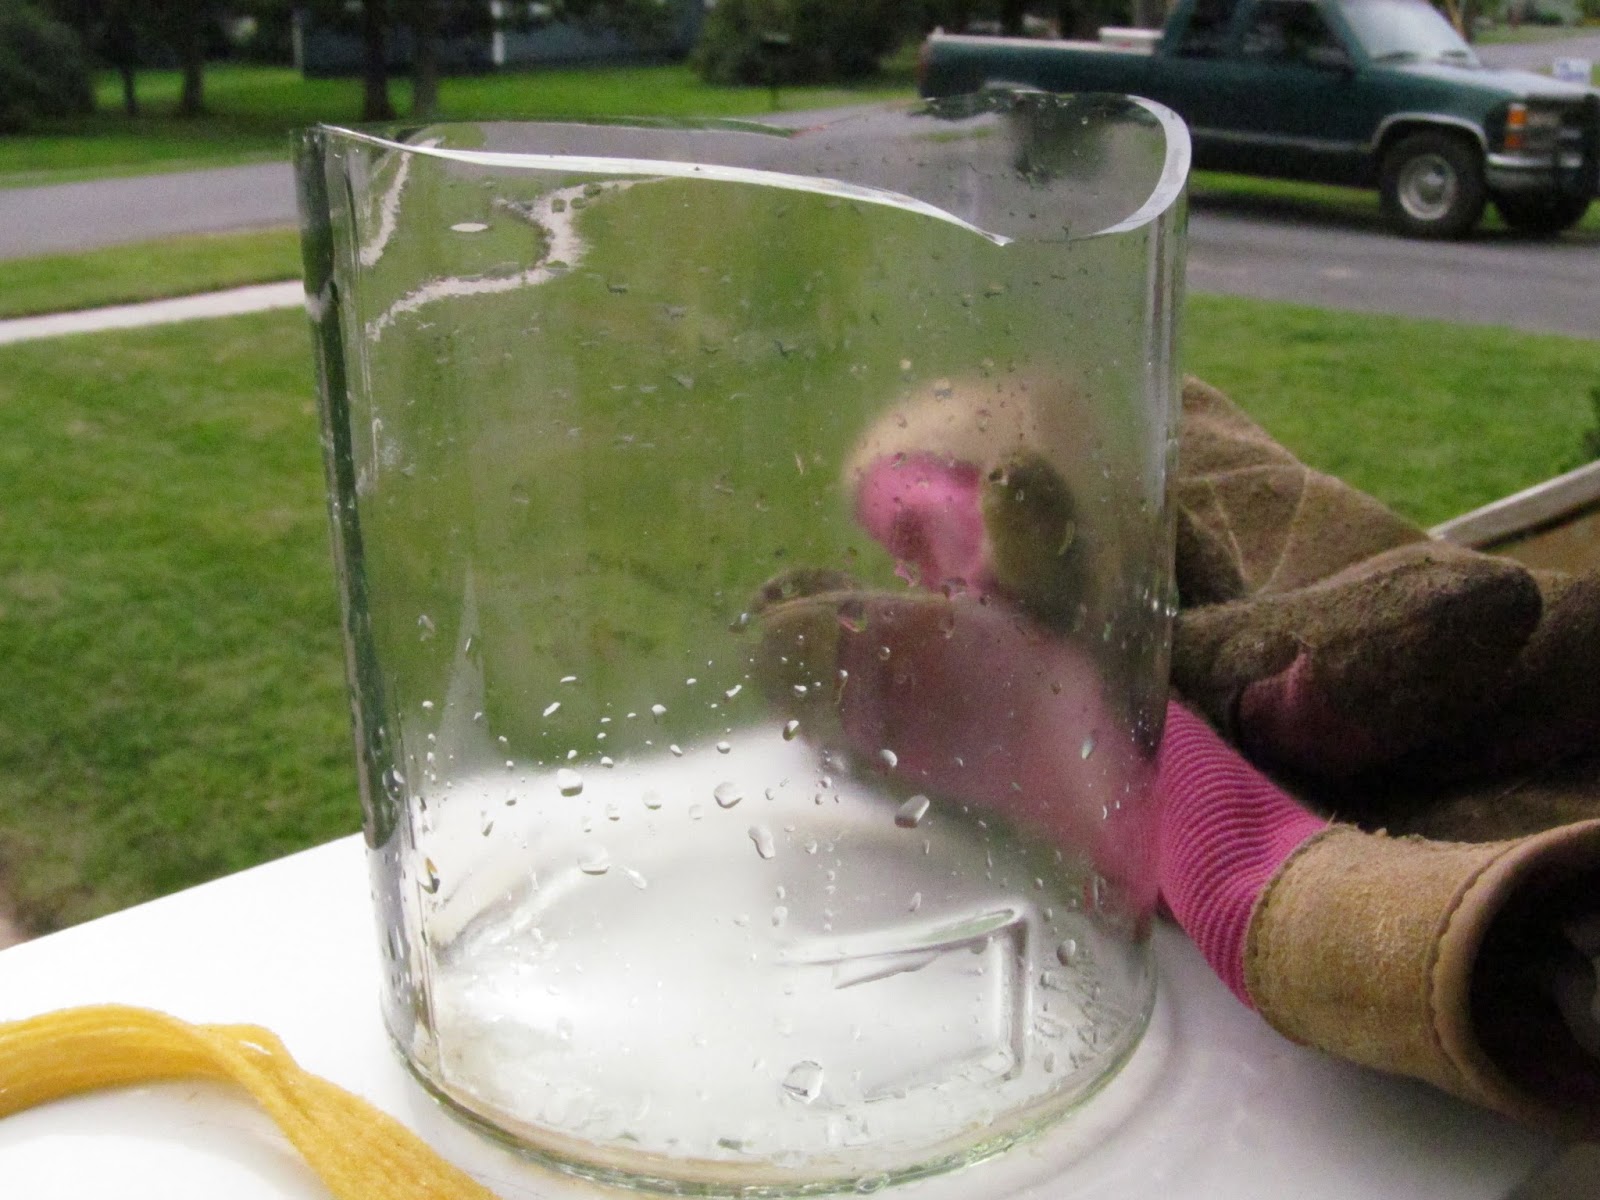
Although the bottle says extremely flammable, I had a really hard time getting the string to light on fire. No biggy, I just switched to rubbing alcohol and that lit up just fine. I let the flame burn for about 30 seconds before I dunked it in the ice water pot. It cracked almost all the way around, and I just had to knock the top against the pot a few times before the whole top broke off. It's not a perfect straight line, but I think that adds character.

 The next one was a little more eventful. I soaked the string, wrapped it 6 times around the bottle, lit it on fire, and let it go. It all seemed to be going perfectly! 

 This picture was supposed to be of the fire, but you couldn't see it. It was burning though! I think I let it burn a little too long though, because when I dunked it in the ice water, well you can just see...


 It shattered...

 Good thing I was wearing safety glasses (aka, the biggest sunglasses I own...)
 The bottom was still pretty much in tact, so I was able to just sand the top smooth and make it work! 
 I chose to use dry black beans for the filling because my bathroom colors are black white and pink. 
 I really like the way it turned out!

post signature

Monday, August 26, 2013

First Day of School

I'm officially a college student! I'm headed to my very first class this morning! :) Now most people would be worried about homework, or what their professors will be like, or things like that. I'm not too worried about that. But what's been on my mind the past few days is what I'm going to wear to my first day of classes. I had it all figured out until I went shopping yesterday and found these shorts at a thrift store. They're from The Limited. They're brand new. Like the tags were still on them. They were originally $50. I got them for $2. I'm not even kidding you. You should have seen the look on my face when the cashier told me my total. This, my friends, is why you should go shopping all the time. You never know what you'll find just before you need it!


post signature

Sunday, August 25, 2013

DIY Frame Calendar

I've seen this floating around Pinterest for a while and have always wanted to try it. I thought it would be really helpful come school, so I made it this past week. I had kind of a lot of setbacks, but I LOVE the finished product! I started with a bunch of frames from thrift stores, probably around 13 frames in all.
I wanted to stick with nuetralish colors, so I could transfer the calendar to my dorm room next fall. I picked black, white, and pink because those are the colors of my room right now. I laid out the frames how I wanted them and decided which frames I wanted which color. 
It was all going perfectly well until I ran out of white paint. No problem, I thought, I'd just go to the store the next day and get it all finished. In the meantime I shellacked the ones I had finished painting and left them outside to dry. Unfortunately, it started pouring down rain and my paint jobs was ruined. 
I had also stacked up all the glass from the frames and they were sitting on the floor in my room. Which is never a good place for glass... I stepped on the pile on accident and cracked my biggest piece of glass. In the end it worked out, I just used a different frame and got everything painted again. Although it took much longer than I thought it would, it looks great and I think it will be really helpful this fall!  


post signature

Saturday, August 24, 2013

It's Just Lunch


 Although it doesn't look too delicious, it tastes incredible! I'm trying to get as much out of raspberry season as possible. It's super easy to make and it lasts a super long time! I put mine on waffles made from bisquick mix, but you can spread it on whatever you like. 

Raspberry Butter (found and adapted from this recipe)

About 1/2 C Fresh Raspberries
1/2 C Butter, room temperature
1/3 C Powdered Sugar

Blend the raspberries, butter, and powdered sugar together until thoroughly combined. Chill until firm and spread on waffles, toast, or pancakes. Enjoy!

post signature

Saturday, August 17, 2013

It's Just Lunch

 I have always loved hummus, but I don't usually get the chance to eat it because of two things. One, it's a little expensive, and two, my mom doesn't like it so she doesn't think to buy it. I've seen recipes going around Pinterest and have been meaning to try some for a while now, and I just got around to it because of "It's Just Lunch!" I had read lots of recipes and they all called for tahini, which is expensive. I looked up substitutes and got mixed responses. Some people say peanut butter would be a terrible substitute and the money to buy tahini is worth it, others say you can't taste the difference. So I decided just to try it and if it was terrible, well that was the point of this blog post series! So I mixed it all up and I think it's pretty good! I'll have to play around with the flavors a little bit, I think I'll browse the refrigerator section for inspiration! 


Hummus (found and adapted from this recipe)

1/4 C Peanut Butter
1/4 C Lemon Juice
1 Garlic Clove
1 t Salt
1 Can Chickpeas
Water
Paprika and Olive Oil for serving

Drain and rinse your chickpeas. Empty the can into a small pot and cover with water, so there is about an inch over the peas. Boil for 10-15 minutes or until soft. Drain the water, but keep it aside to add later. If you have a food processor you should use that, but since I didn't I used a handheld mixer and a bowl. I tried using a blender, but I found the mixer worked better. Mix the peanut butter, lemon juice, garlic, and salt together in the bowl. Add softened chickpeas and mix. At this point your hummus will be pretty dry. Add the cooking water a little at a time until you like the consistency. I added between 1/4-1/2 C of water. Mix until smooth. This will take a while, just be patient :) Add whatever other flavors you like, I sprinkled paprika, olive oil, and chili powder on mine. Enjoy with whatever you'd like to dip in your hummus!

post signature
Related Posts Plugin for WordPress, Blogger...