Tuesday, May 14, 2013

Belt Refashion

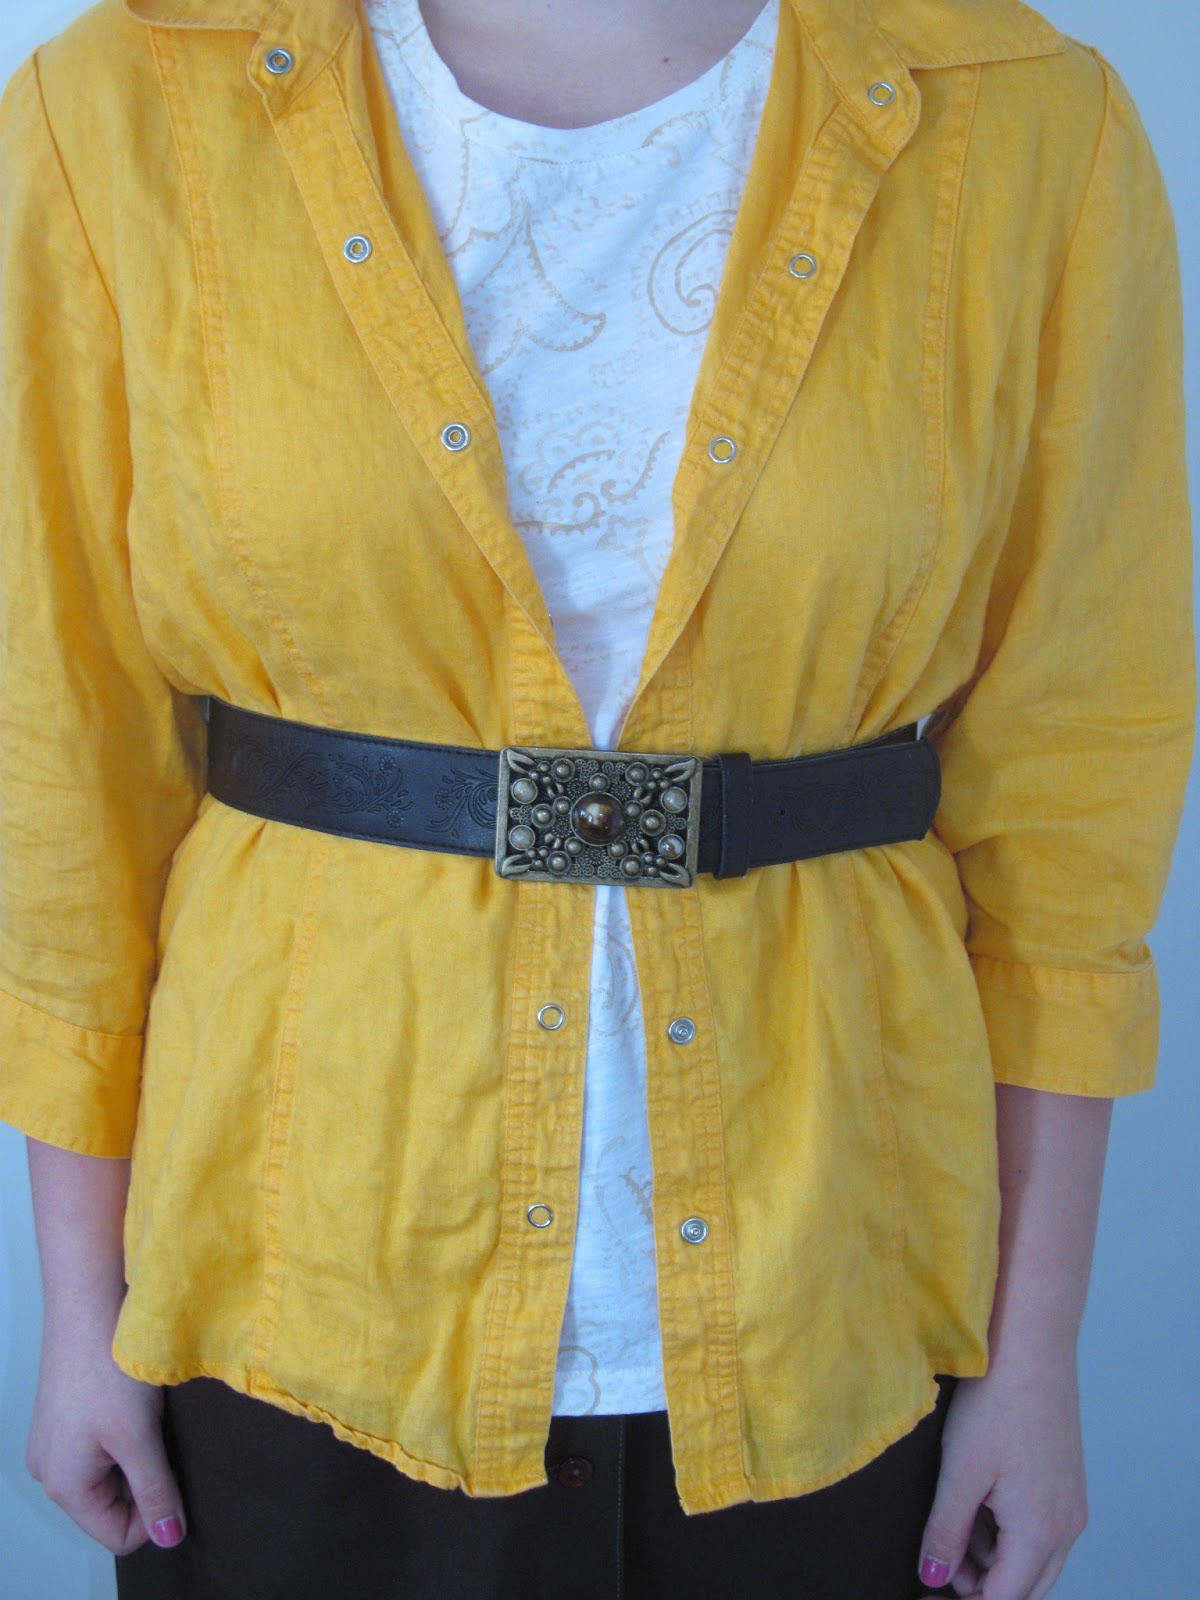
So on Saturday my mom and I helped with a fundraising yard sale. You know what they say about yard sales? You bring a box to donate and come home with two boxes of stuff you bought! While that wasn't quite true with us, I did find several things for us to buy! The good thing about yard sales though, is that you get a ton of stuff and you only spend $2.50. Anyway, back to the project at hand. While we were at the yard sale I saw a super cute belt that I had to have. I love belts. I just recently found out that I love them, so now I'm expanding my collection. I used to hate belts. My mom would always bug me about how my pants were too loose and I needed a belt, but I never wanted to wear one. Totally different story nowadays! I wear them even when I don't need them. So I convinced my mom to buy this belt (I didn't bring any money in a valiant attempt to not buy anything...you see how much good that did...). It was only 50 cents for goodness sake! The only problem was it went around my waist a time and a half. It was WAY too big. But we bought it anyway because I knew I could cut it down and resize it. What do you know, I was right!
Before. As you can see, it does no good
The first thing I did was measure how much smaller I wanted it to be and cut off the extra with a sharp scissors. I then glued the end so it wouldn't move around while I sewed the end shut. Well, I say "I" sewed the end shut. However, my mom was so excited that the sewing machine was out again (for the first time since we moved) that she hijacked my project and sewed the end shut. (see a hilarious depiction, written by my dad, of her sewing addiction here)
 The rest of the project is super easy if you have one of these thingymajigers. Nice technical name, huh? I thought so too. I have no idea what they're really called. Anyway, you just measure where the middle is and how big the previous holes were (that will tell you how big the hole has to be for the buckle to go through). I did all the measuring for the first hole, but then I thought of the genius idea to just overlap the piece with the original holes onto the piece I wanted my holes to be on and punched away.


And voila! Project complete!
 
post signature

Monday, May 13, 2013

It's Cookie Time!

So I finished my psychology papers in time to send them in! Yay me! Now on to the important stuff. ;) Today I made Chocolate Mint Sandwich Cookies. Surprisingly, the recipe did not come from Pinterest, but a normal cook book! Shocker, I know. Anyways, the recipe is at the bottom of the post :)
Freshly out of the oven

I didn't add the food coloring to mine because I couldn't find it, so that is why my filling is just plain white.

Chocolate Mint Sandwich Cookies

6 T Butter
1 1/2 C Packed Brown Sugar
2 T Water
2 C Chocolate Chips
2 Eggs
1 t Vanilla Extract
2 1/2 C Flour
1 1/2 t Baking Soda
1 t Salt

Filling:

2 1/2 C Confectioners' Sugar
1/4 C Butter
3 T Milk
1/2 t Peppermint Extract
3 drops Green Food Coloring (optional)

Preheat oven to 350 degrees. In a saucepan, combine the butter, brown sugar, water, and chocolate chips over medium heat until the chocolate chips are melted. Cool
Mix in eggs and vanilla. Gradually add flour, baking soda, and salt. Drop by rounded teaspoonfuls 2" apart on an ungreased cookie sheet. Bake at 350 for 10-12 minutes or until firm. Cool on wire racks immediately.

In a large mixing bowl, combine filling ingredients until smooth. Spread between two cookies and enjoy! 

post signature
PS- This is my 100th post! How cool is that??

Thursday, May 9, 2013

Life of an Army Brat

So what do you do on May 9th when your house looks like this:

And you have 6 psychology papers due tomorrow?


You (or at least I) make Christmas ornaments!
I saw this idea on Pinterest (I'm addicted) a while back, and my mom had seen it somewhere else too, and we knew we definitely had to do it this move! Every Army family (and maybe other branches too? I'm not sure) knows that when you move your entire house is covered in these stickers (red, yellow, or blue, sometimes a combination because you had too much crap...). Why not make a keepsake out of them? You're going to peel them off anyway (or maybe you'll just leave them on to confuse the next movers. We've done that a few times, it's pretty hysterical :) But anyway, back to the point. It's super easy to do: go to a craft store and buy those decorate it yourself (a whole new DIY!) Christmas ornaments, peel off your moving stickers and stick them too the ball. Viola! You're done! Now back to psychology...

post signature

Tuesday, May 7, 2013

It's WARM!


Just a little update on my life because I haven't posted in a while, I'm officially in New York now! And it's WARM!!! For real, it was at least 80 degrees yesterday! I can finally wear something that isn't a sweater! 
 A couple of photos demonstrating my continued lack of selfie ability... But the tree is pretty!

 And then the ones my mom took after I gave up.. :) I'm wearing my long red, white, and blue skirt as a dress with a belt, my red scarf as a vest, and my black wedge flip-flops.
Just so you can see the back. I got this idea from Pinterest (I'm addicted). You fold your scarf in half, then take one folded corner and tie it to the corresponding end and viola! A vest! Hope everyone else is enjoying the weather as much as I am! 

Monday, April 15, 2013


<a href="http://www.bloglovin.com/blog/7029213/?claim=3t4p8ffpsks">Follow my blog with Bloglovin</a>

I just signed up for Bloglovin, so follow me! :)

post signature

Sunday, April 14, 2013

Sunday Funday


Happy third Sunday of Easter! Today I wore a new dress that I just got from the on-post thrift shop for only $4! I was super excited to find something springy! It is still really cold here (we had a few snow flurries this morning) so I also wore the 100% wool pink blazer that I got a few weeks ago. I wore one of my pink scarves while I was outside, because of the cold.


post signature
I hope you all have a great Sunday!


Friday, April 12, 2013

Starbucks Oatmeal Raisin Cookies

Today I made copy-cat Starbucks Oatmeal Raisin cookies found on Pinterest (I'm addicted). I have to say, these were delicious. They are very close to the Starbucks cookie; the only thing missing is the chemicals! ;) I did modify the recipe a little bit. It called for regular raisins, golden raisins, and cranberries, but I didn't have golden raisins or cranberries, so I just used the same amount of normal raisins. Let me know what you think!

Starbucks Oatmeal Raisin Cookies
1 1/2 C Old-Fashioned Oatmeal (don't use quick oats)
1/2 C Flour
1/2 C Dark Raisins
1/2 C Golden Raisins
1/4 C Dried Cranberries
1/4 t Baking Powder
1/4 t Baking Soda
6 T Butter, room temperature
1/2 C Brown Sugar
1/4 C Granulated Sugar
1 Egg
1/2 t Cinnamon
1 t Vanilla

Preheat your oven to 350 degrees. Mix together oats, flour, 1/4 C each of dark and golden raisins, cranberries, baking powder, and baking soda. In a separate bowl mix butter, sugars, and egg. Add oat mixture to butter mixture and mix until combined. Add cinnamon and vanilla. I made mine pretty big, probably at least 2 T of dough per cookie. They do spread, so make sure you place them at least an inch apart for small cookies and two inches apart for large cookies. Top with left over raisins. You will have to flatten the cookie dough a little to make sure the raisins don't fall off. Bake on a foiled pan for 12-16 minutes or until brown around the edges but still chewy in the middle. Enjoy!
Related Posts Plugin for WordPress, Blogger...